Orders
A customer views the product and completes the checkout process, it is transformed into an order.
Order statuses
Orders are listed here according to their statuses. They are as follows:
New
When the customer reaches the last step of the checkout, the order is saved with the status - NEW. This means, the customer has NOT PAID. It is an UNPAID order.
Confirmed
As soon as the customer makes a successful payment, order status is marked - CONFIRMED.
Failed
If the payment is not successful or if there is an error message from the gateway due to validation or some other reasons, then the order status is marked as - FAILED.
The above are the primary workflow.
Pending
This will be used sometimes with certain gateways (like PayPal). This usually means. Payment is successful. However, you will have to manually review this payment. Example: eCheck payments in PayPal takes at least 5 to 7 business days to clear. Sometimes, PayPal marks a payment from customers from certain countries (Egypt, Nigeria, for example) as Pending and would want you to review or it might go their Fraud prevention team for a review.In those cases, the order is marked PENDING.This status is not used by all gateways
Cancelled
This is primarily for the administrator. (In a few gateways, if customer cancels during the payment screen, the status is automatically marked as Cancelled). The store admin can mark an order cancelled .In high traffic sites that manage low inventory, there is an option to auto cancel orders if the payment is not confirmed within XX time. J2Store has this option under the Inventory settings.
Processed
An internal order status for store administrator. You can use it for any purpose you like depending on your business nature.
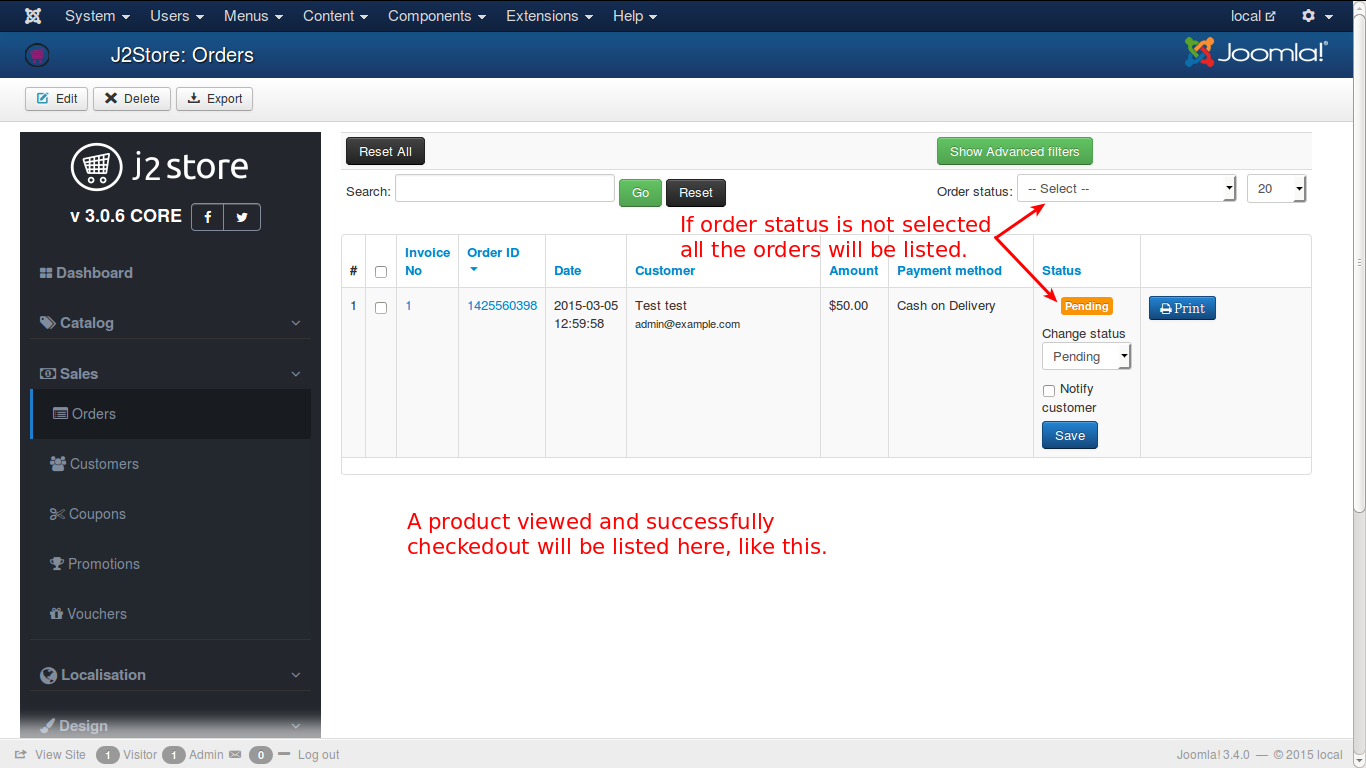
Every order will possess some important information that explains about it. They are:
Invoice No - The number of the document that completes the process of that order.
Order ID - ID for reference that tracks all the processing steps
Date - The date in which the order is completed
Amount - The total value of the order after billing
Payment Method - The method in which the customer has paid for the order viz., bank transfer, paypal, moneyorder, etc
Status - Completed or still in process - like information
Check the image below to understand clearly.
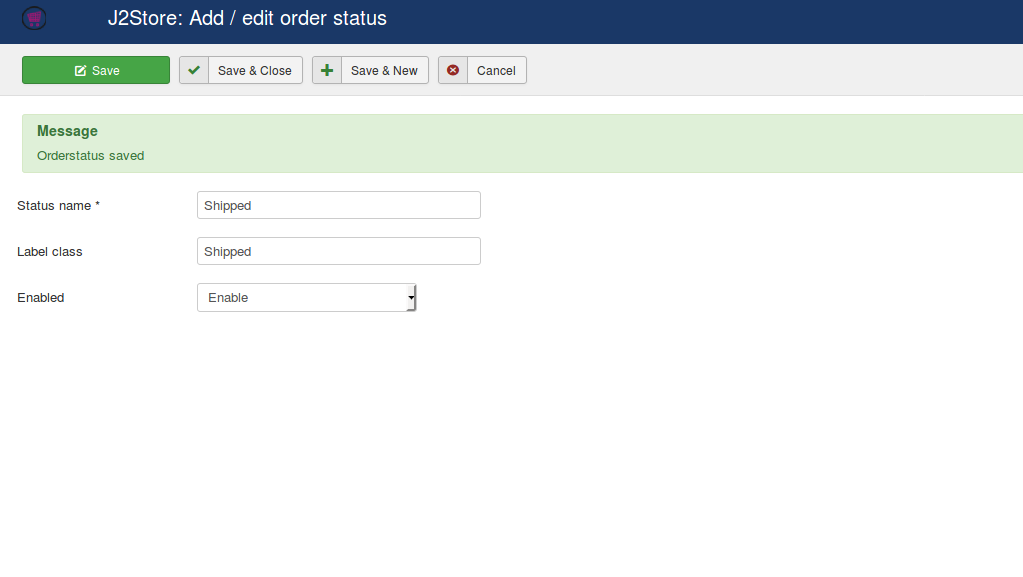
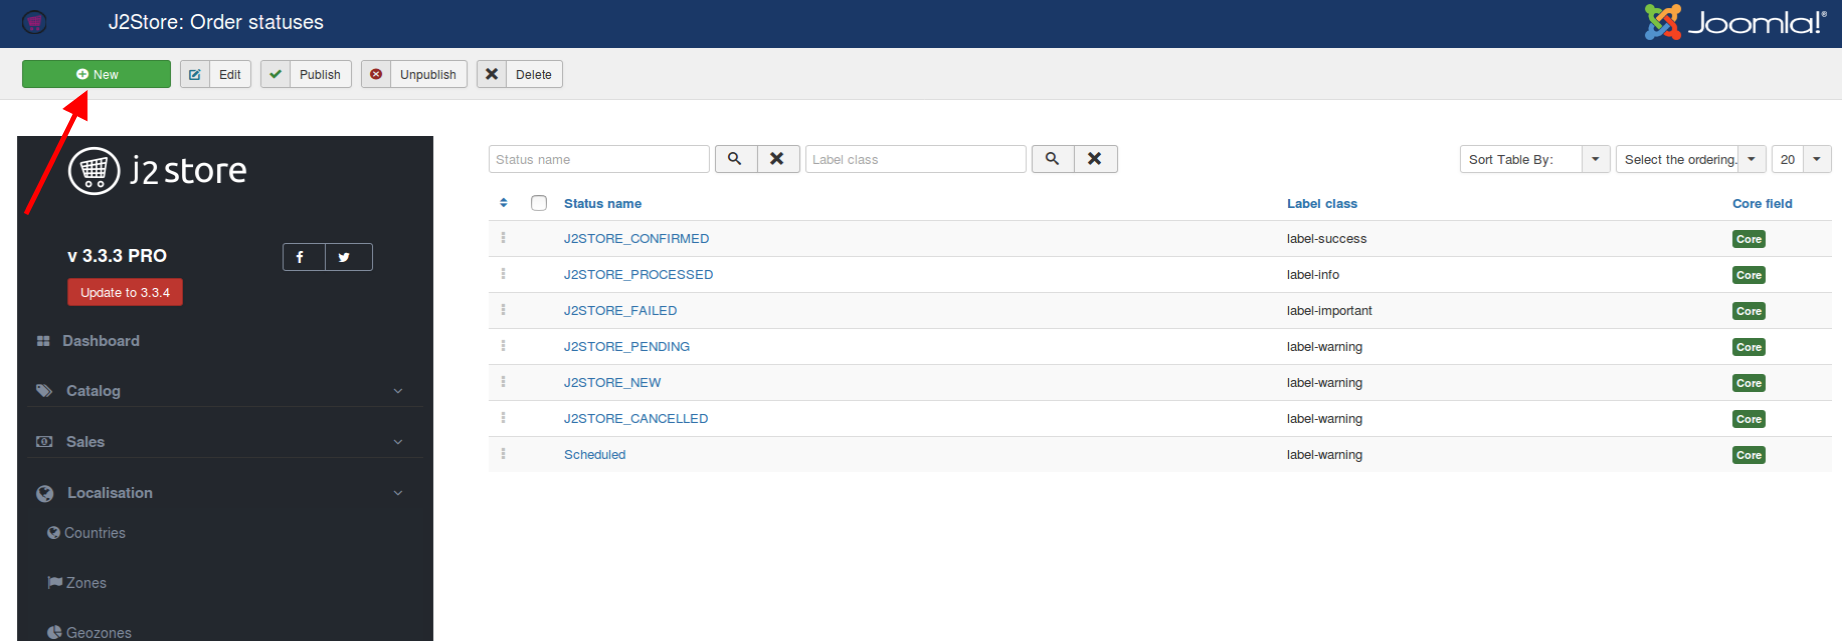
You could also create custom order statuses by clicking on the New button under J2Store->Localisation->order statuses->New as indicated in the screenshot below:
Creating order from backend
J2Store allows you to send a invoice first and then collect the payment from customer. This is possible by creating an order from backend. Follow the below steps to create an order from backend:
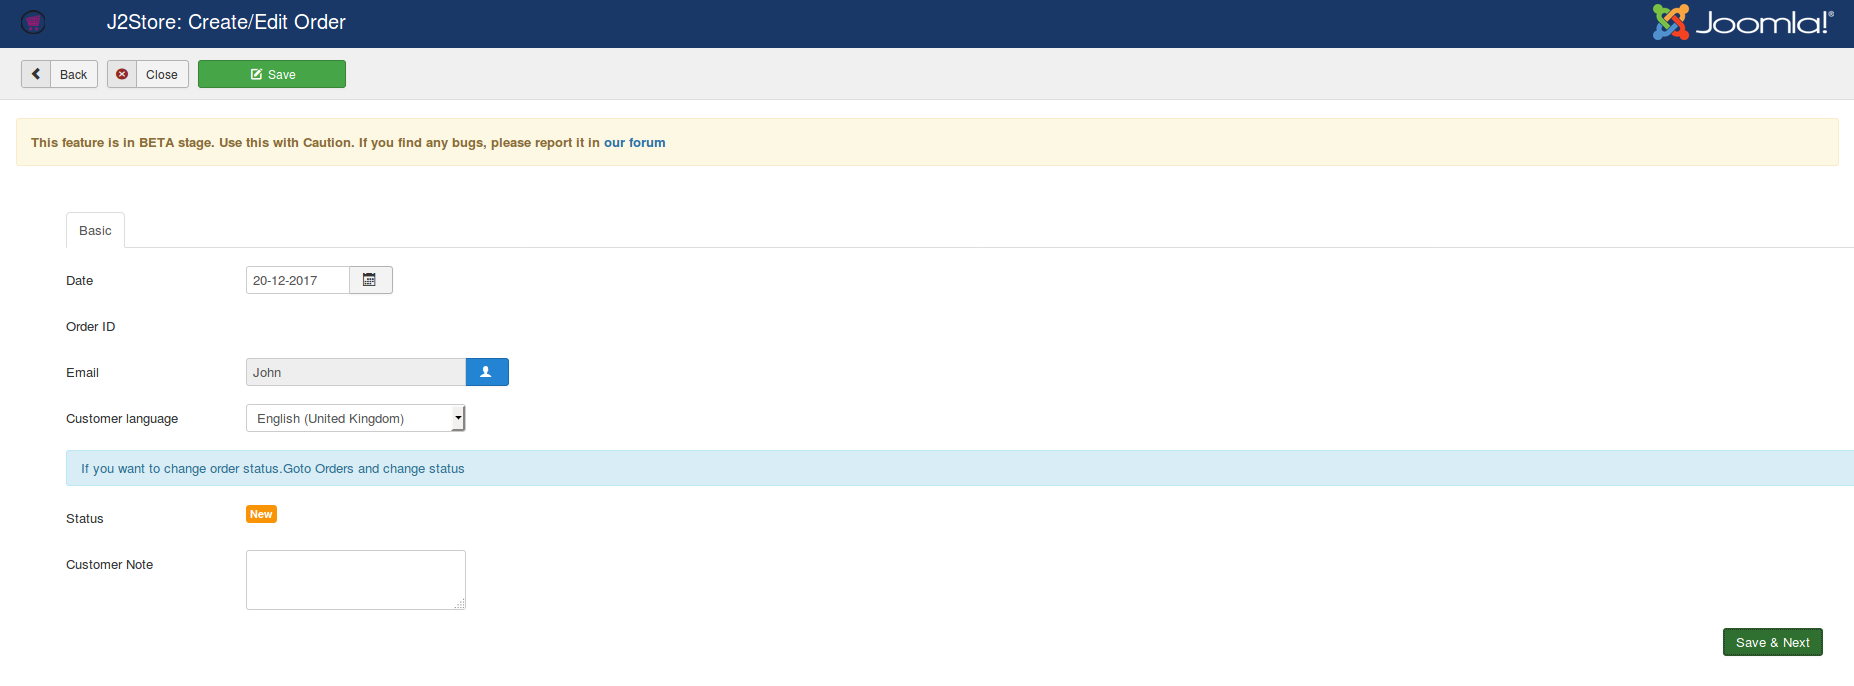
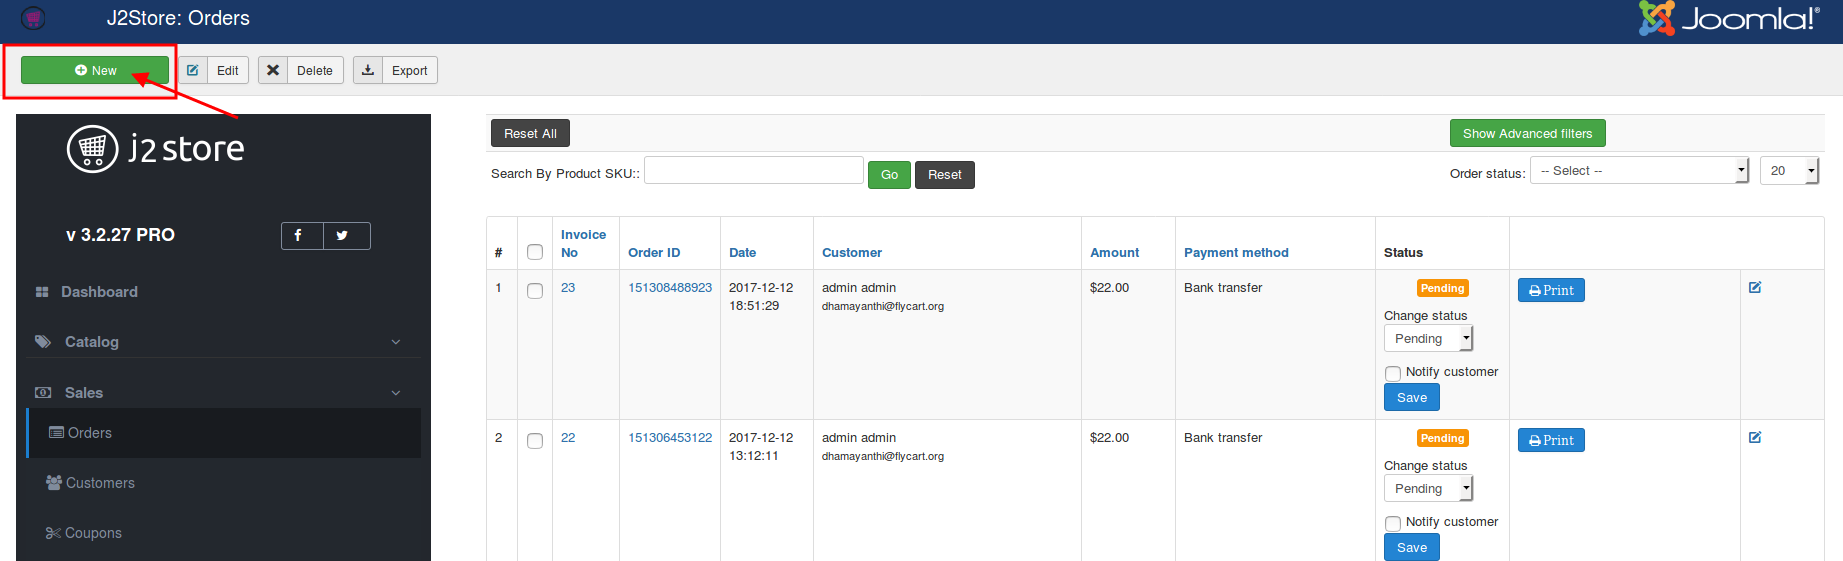
Go to J2Store > Sales > Orders and click new on top left of the page.
From the resulted page, select date, user and language and then click on Save & Next at bottom of the page.
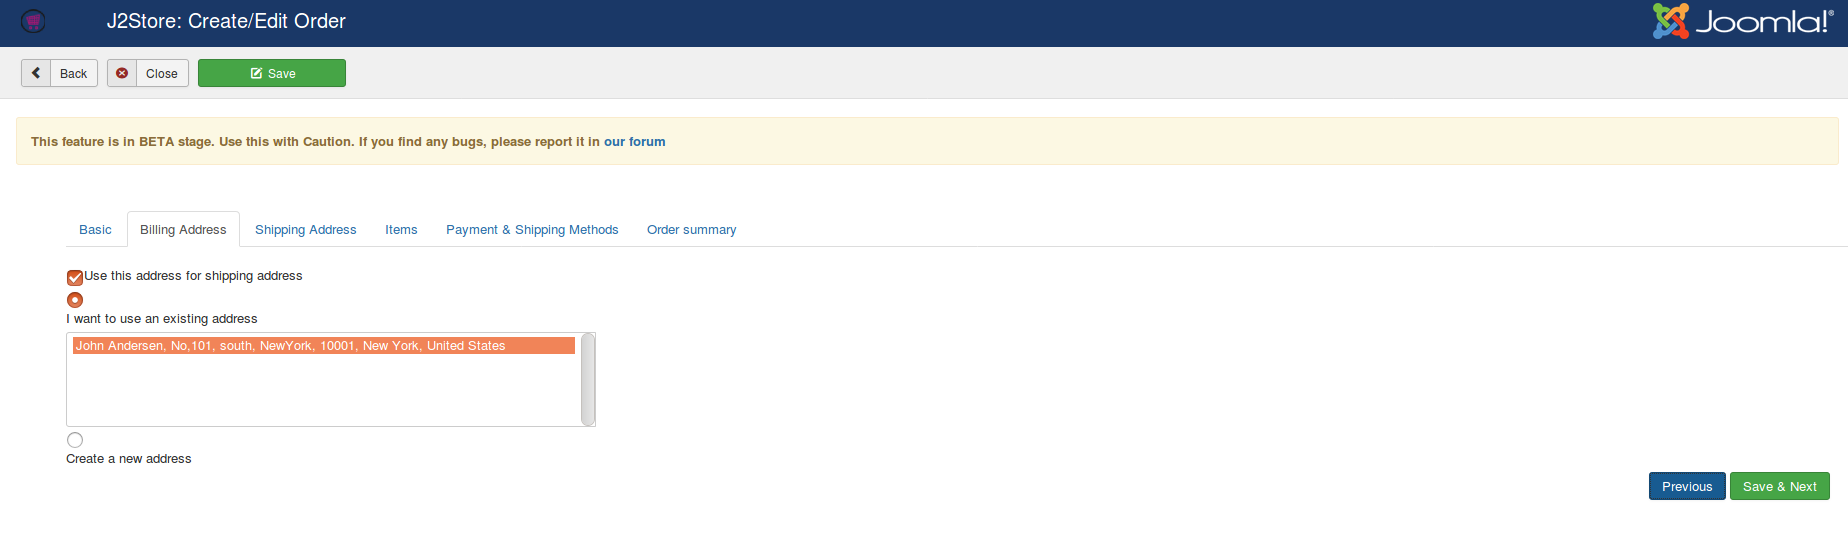
Now you are in Billing Address tab. Under this tab, choose the billing address of the customer or create a new one and then click on Save & Next.
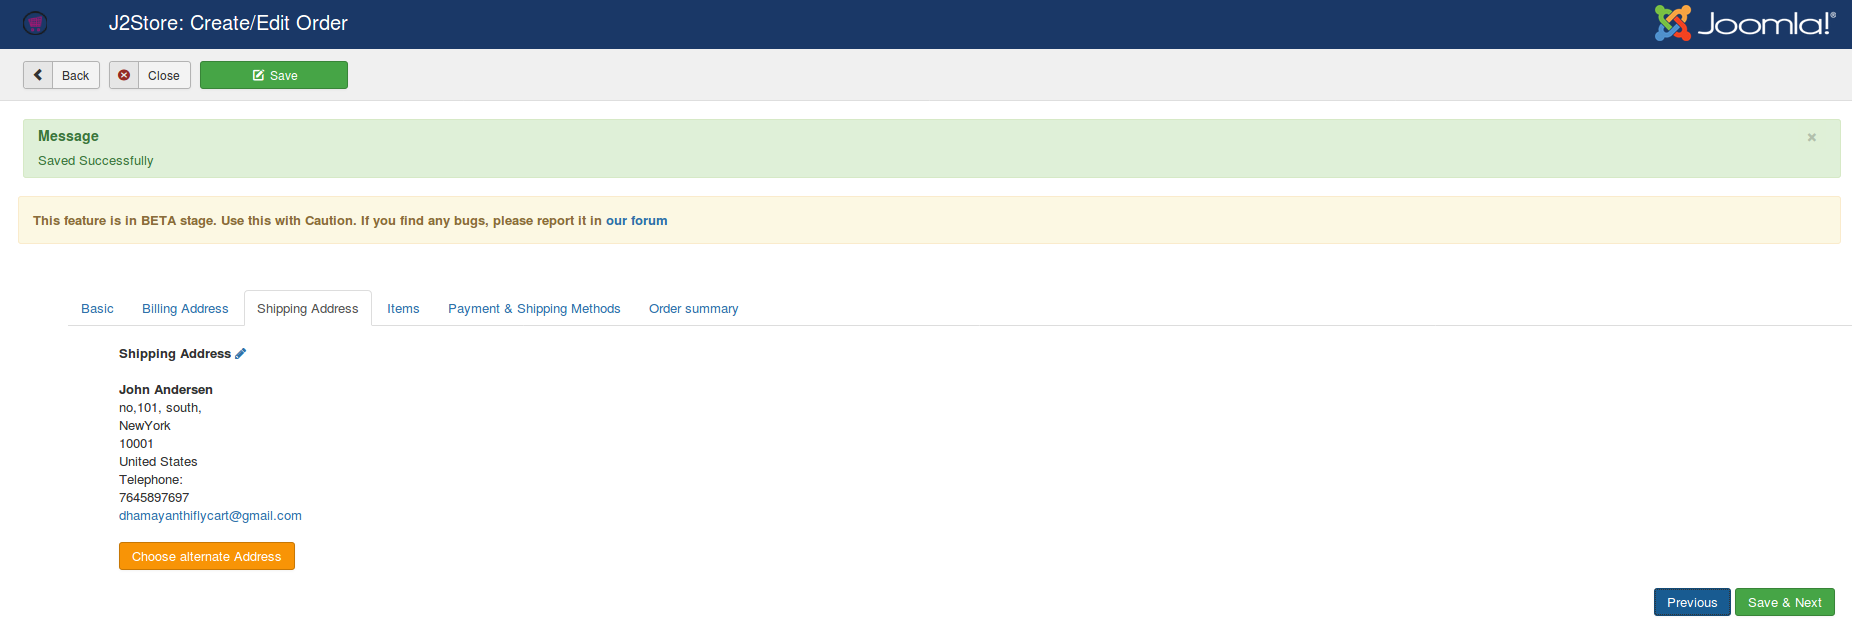
Under the Shipping address tab, click on Choose alternate address if you customer’s shipping address is different from billing address.
Now you are in Items tab. Here type two or three characters of the Product’s SKU. It will show you the available products. From the available products, choose your desired product and click on “Add item to order”.
The popup screen will be displayed where you should click on Add to cart button to add an item into the basket. Then, close the popup and click on Save & Next.
Choose your payment method and shipping charge under Payment & Shipping method tab and click Save & Next.
At last, the order summary will be displayed. At the bottom of the page, you will see calculate tax button. On clicking this button will cacluate the text for this order.
If you would like to apply extra charge to customers, use Add fee feature at the order summary tab. Enter the fee name, fee amount and choose the tax profile (if you wants to charge extra fee taxable) and then Finally click on save order.
Editing order from backend
You could edit the order by going to J2Store > Sales > Orders.
Go to Sales > OrdersYou could see the orders listed in the table format. In the tabular column, select the checkbox of the corresponding order that has to be edited and then click button at the top of the page.
Another way:
Open the order by clicking on invoice no or order ID.
You would see the page like below.
Click on Edit at the top of the page and make the changes to the order.
Adding shipping tracking ID
If you have enabled shipping in your site, in admin order history page you can see the text box to enter shipping tracking ID. Enter your shipping tracking ID and click save.
Now go to J2Store > Design > Email Templates and add the short tag [SHIPPINGTRACKINGID] in your email template.
Last updated