
Product tag layout
Introduction
Starting from the J2Store version 3.2.25, we have presented a new menu item type for creating tags for products.
Normally, with the Product list layout we were displaying the products based on categories. With this new feature, we will be able to display products based on the tags.
When a tag is added to two or more products in the backend , the products that fall under that particular tags will be displayed in the front end, when the menu is chosen.
The difference between the product list layout and the product tag layout is that we use categories for filtering in the former while we use the tags to filter the articles in the latter.
Tags in Joomla! provide a flexible way of organizing content. Once an item is tagged with a specific tag, browsing to the link for that tag will give a list of all items that have been tagged with that tag.
Overview
It is necessary to create a product tag before creating a menu of the type product tags.
Create an article and add the tag to it.
Create the menu item of the type Product tags and choose the tag that will act as the filter to display the products(More like the category).
Since there are no categories involved here, there is no option to filter the products based on categories. Hence that parameter has been removed.
Creating a tag
To create a tag, the steps given below have to be followed:
Navigate to Components->Tags.
Click New to create a new tag.
Enter the title of the tag, give a description to the tag and choose the parent tag(if any) as per the requirements.
You can also add a note to the tag, refrain the user groups and choose the language for which the tag has to be applied.
The following screenshot is an example for a tag:

Adding a tag to the product
Once a tag has been created, the next step will be to add it to the product.That can be done as simple as this:
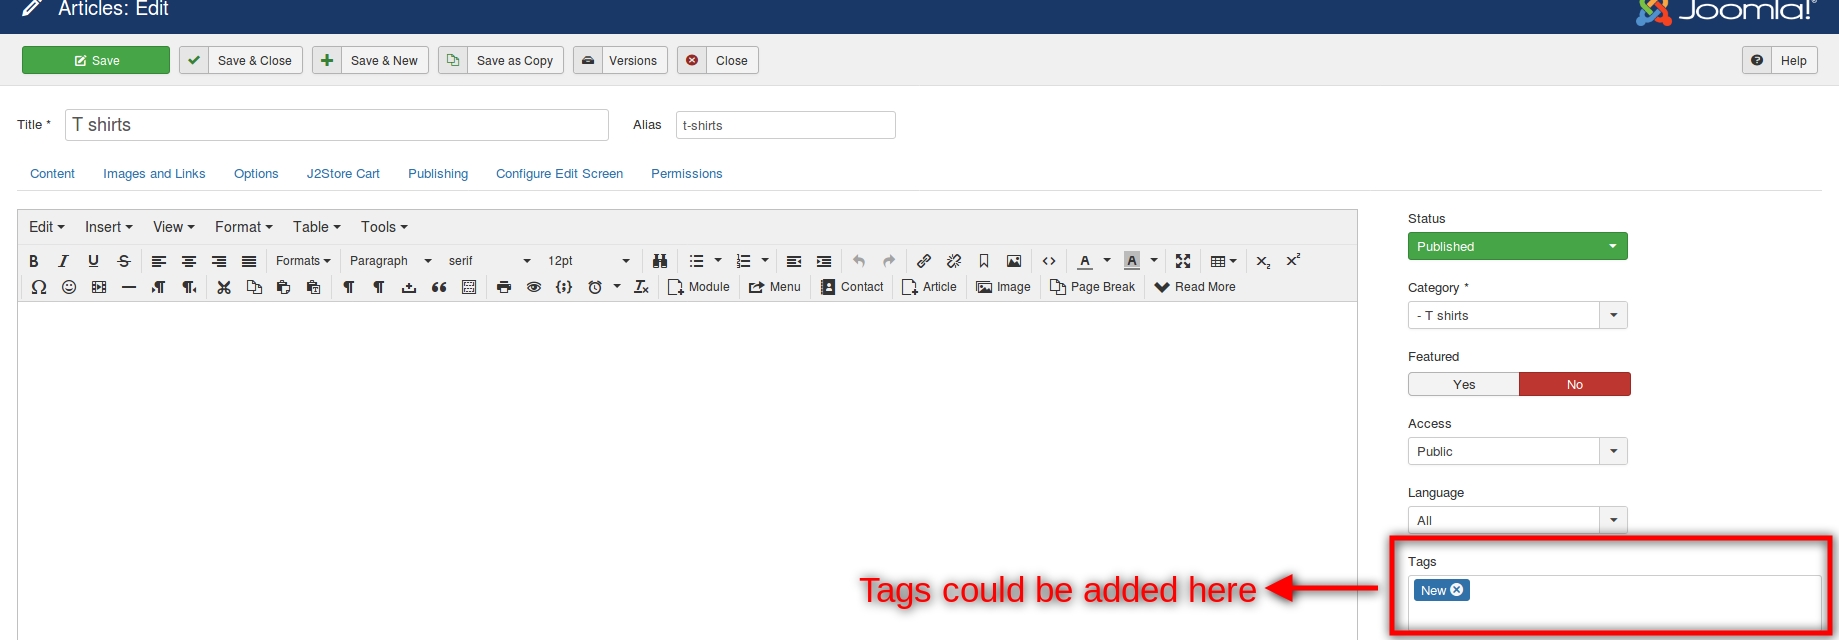
Navigate to Content->Product article.
In the Content tab,the tag can be added in the Tags column.
Post creating the tag and adding it to the product’s article, the next step will be to Create a menu item of the type Product Tags. Following are the steps that have to be done:
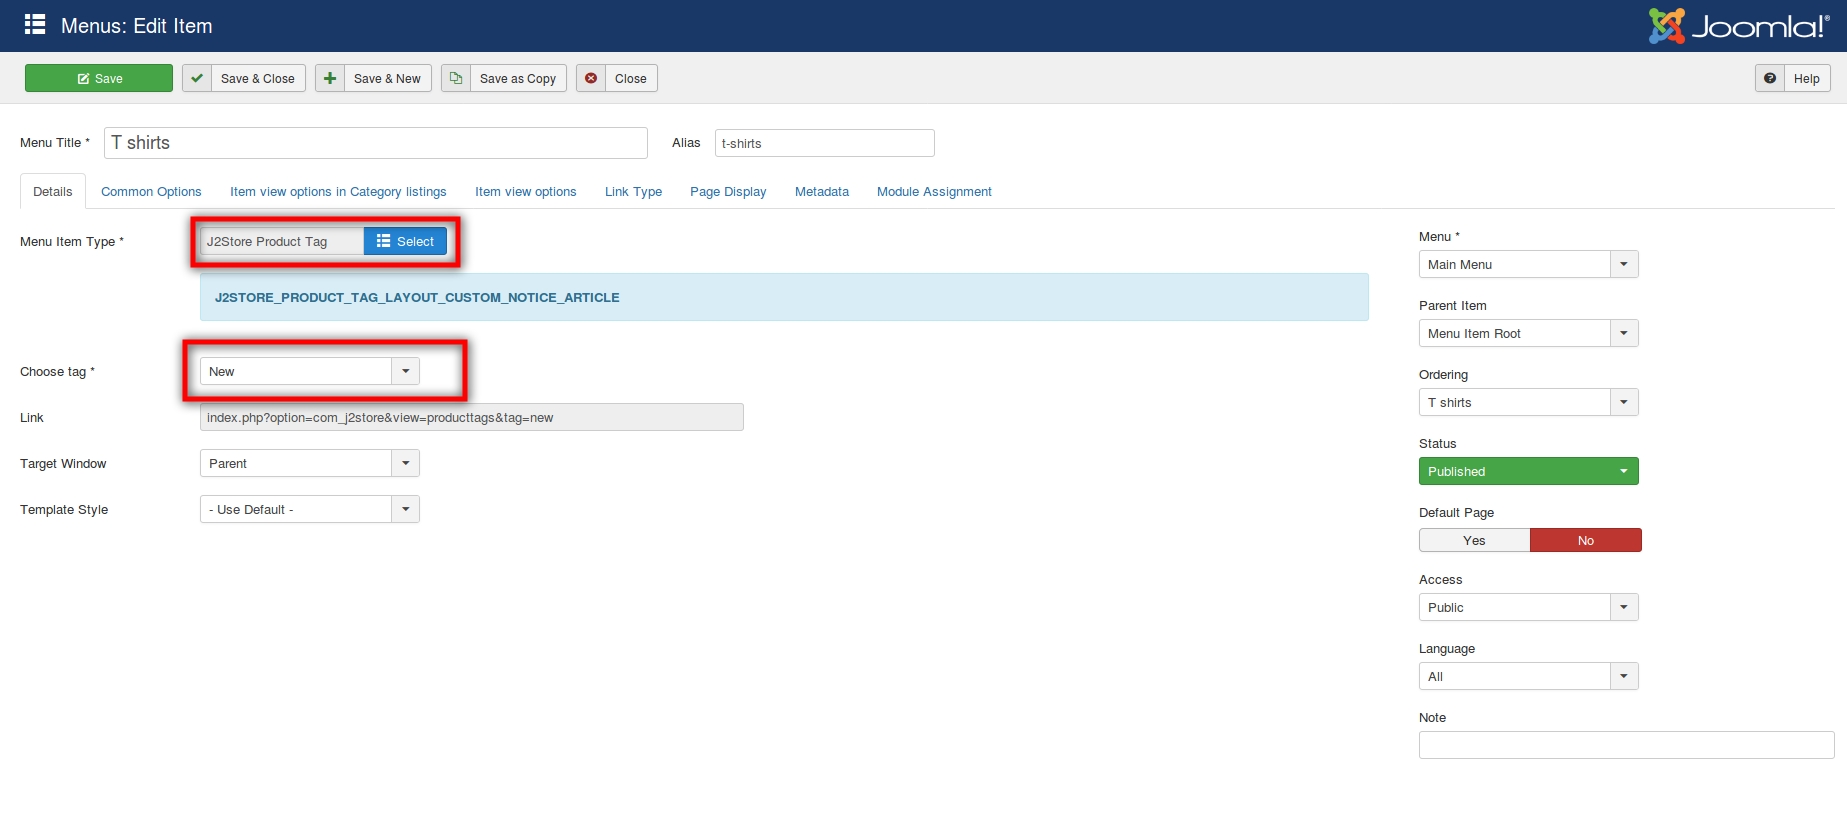
Click on Menus->Menu Items->New.
The menu title has to be given and the menu item type should be “J2Store product tag layout”.
The next option will require you to select the tag for the menu item. Choose the tag that has to be associated with the menu item.
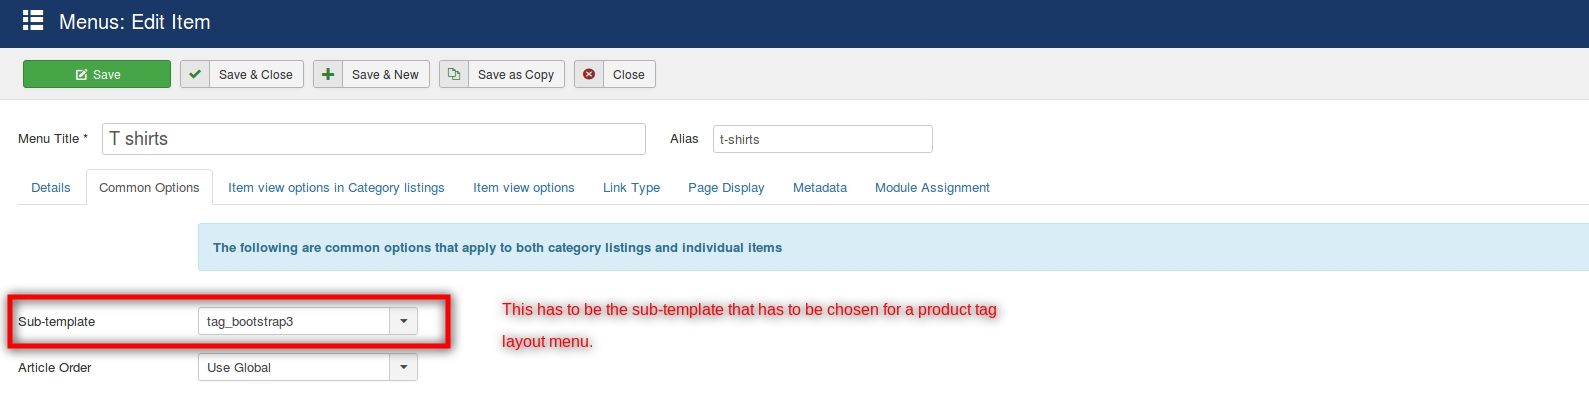
Additional Step: Click on the Common options tab and choose the Sub-template to tag_bootstrap3. This is the sub-template that should be chosen to display the tags on the layout unlike the default one.
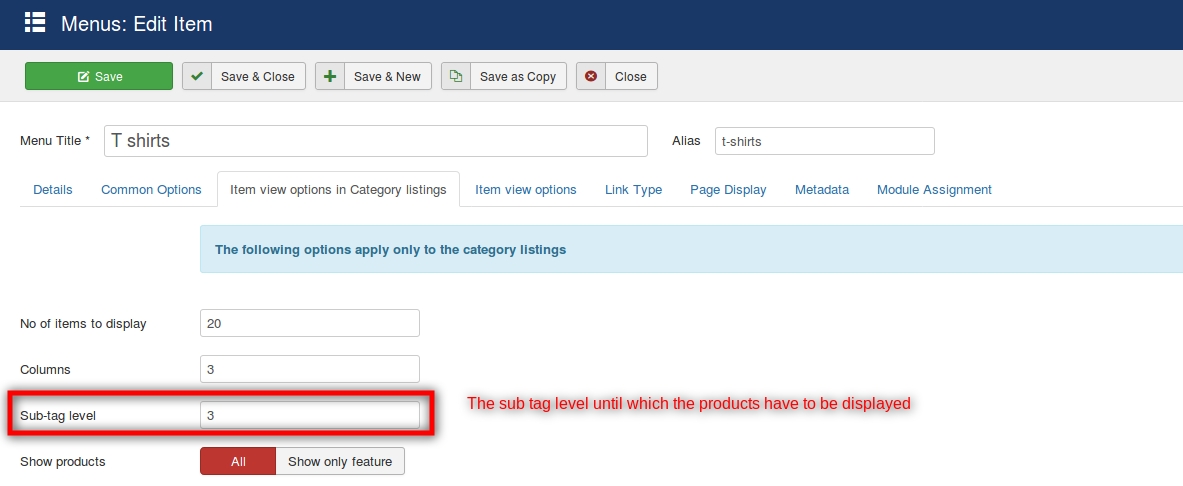
You can also choose the level of sub tag until which the products have to be displayed under the “Item view in Category listings” tab in the option “Sub Tag level”.
The below images show how a menu item of the type “Product tag” is created.
These are the other options that can be chosen when it comes to Product Tag layout.
You can choose the sub-tag level in case you have tags that contain parents in the following way:
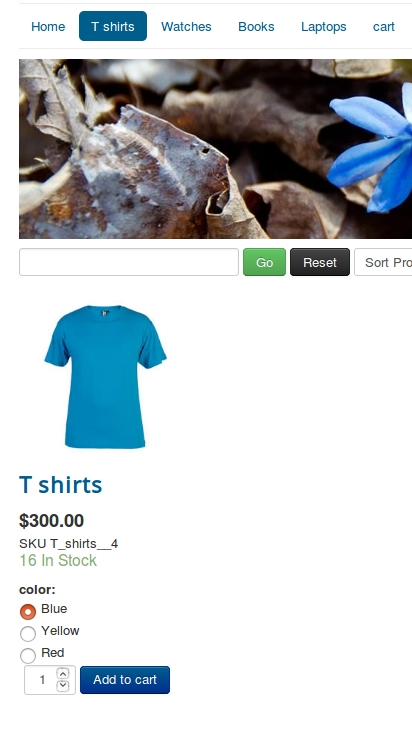
The frontend display of the tag layout will be as below:
Video Tutorial:
Still have doubts? Here is a direct link to the video that depicts creating and adding of the product tag layout:
Last updated
Was this helpful?