
Simple Subscription Product
Creating simple subscription product
Following are the steps to create a simple subscription product:
Go to Article Manager > create new article > Move to J2Store cart tab
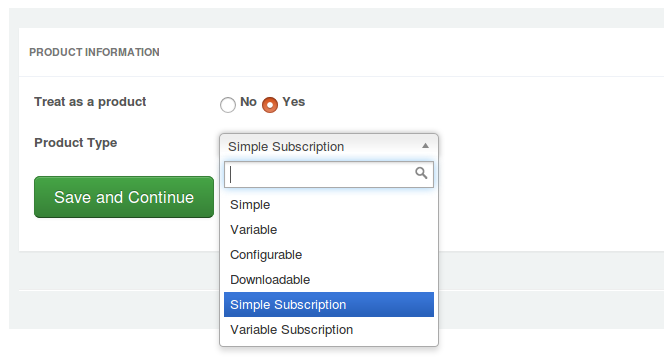
Choose YES to Treat as a Product and select Simple Subscription as Product Type and click Save and Continue.
Set YES to Visible in storefront and navigate to Pricing tab.
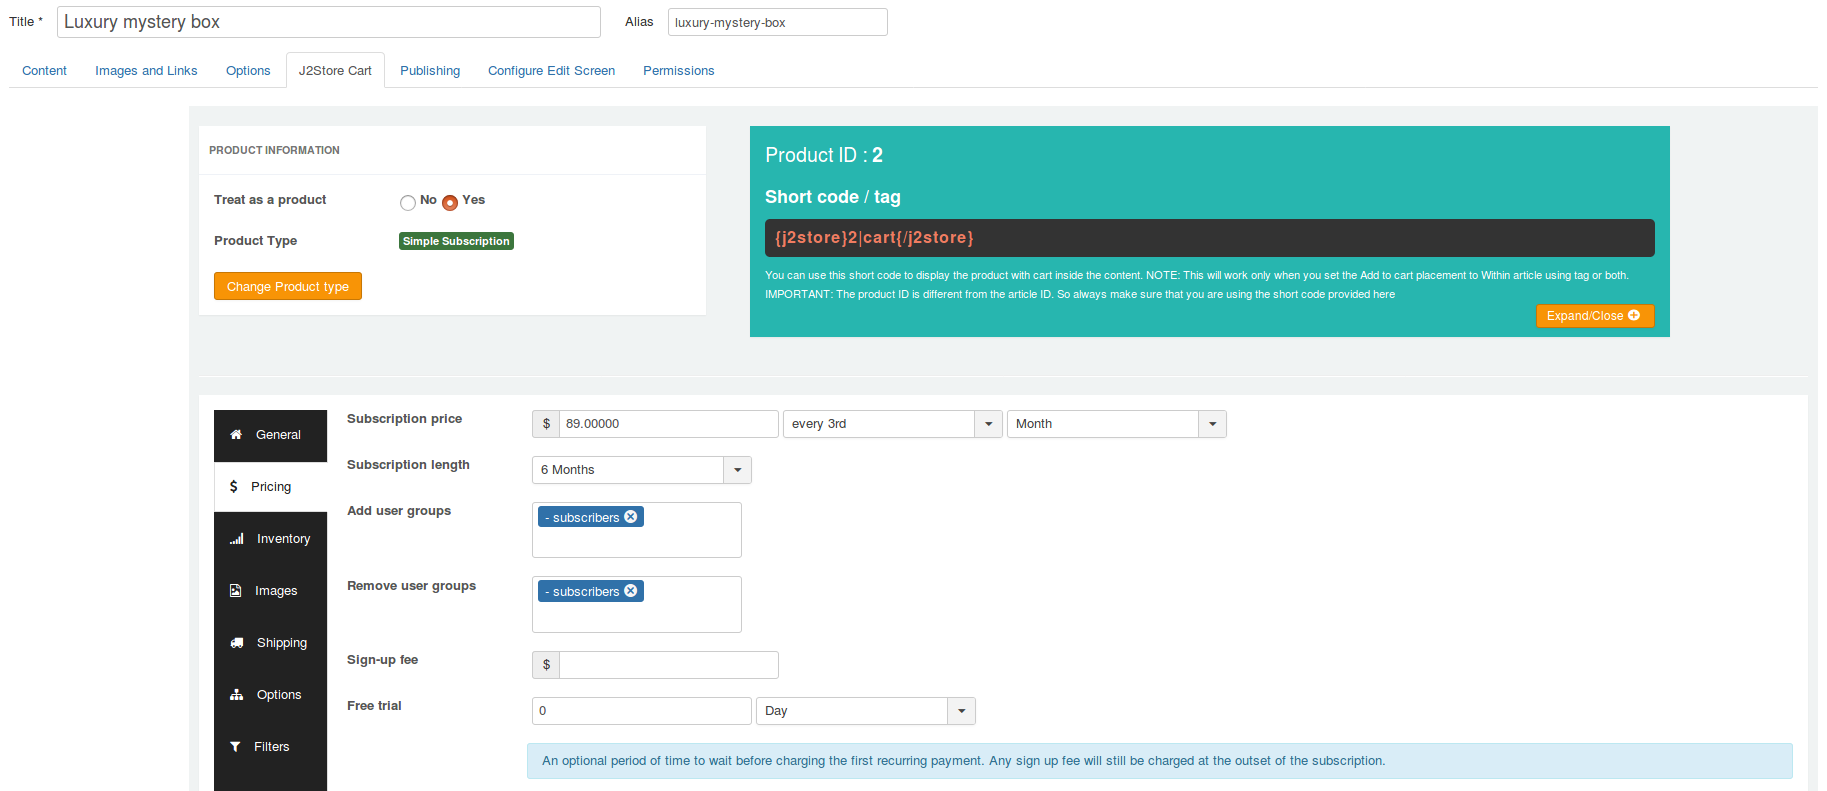
Pricing tab, where you could set your subscription product’s price, customer group, expiry date, etc.
You can set images, shipping, filters to your subscription product.
How to setup pricing for subscription product ?
Subscription price : Enter the membership price (for example,29) based on either daily or weekly or monthly or yearly basis.For example, if you would like to give subscription price $29 for only 3 months, then enter $29 in the first text box and then choose every 3rd from the dropdown list and then choose month from third dropdown list.
Subscription length : The subscription length duration will be listed based on the recurring period you selected above. For example, if your subscription product’s duration period is only for 3 months, Choose 3 months. So the subscription will end at the end of 3rd month.If you would like to give a life time price for your subscription product (i.e.) wants to collect $29 at the end of every 3 months for lifetime, choose Never Expire to Subscription length. So $29 for every 3rd month for lifetime.
Add / Remove user groups : Users will be added and removed from the Joomla user groups when their subscription to the level is enabled or disabled.
Sign-up fee : This app allows you to collect one time set up fee or sign up fee from your customers. Enter your sign up fee here. For example, $5 or $10.
Free trial : Using Free Trial you can set the number of days the subscription can be on trial mode. Once the trial days are over, the app automatically converts it to an active subscription and attempts to process the first payment.
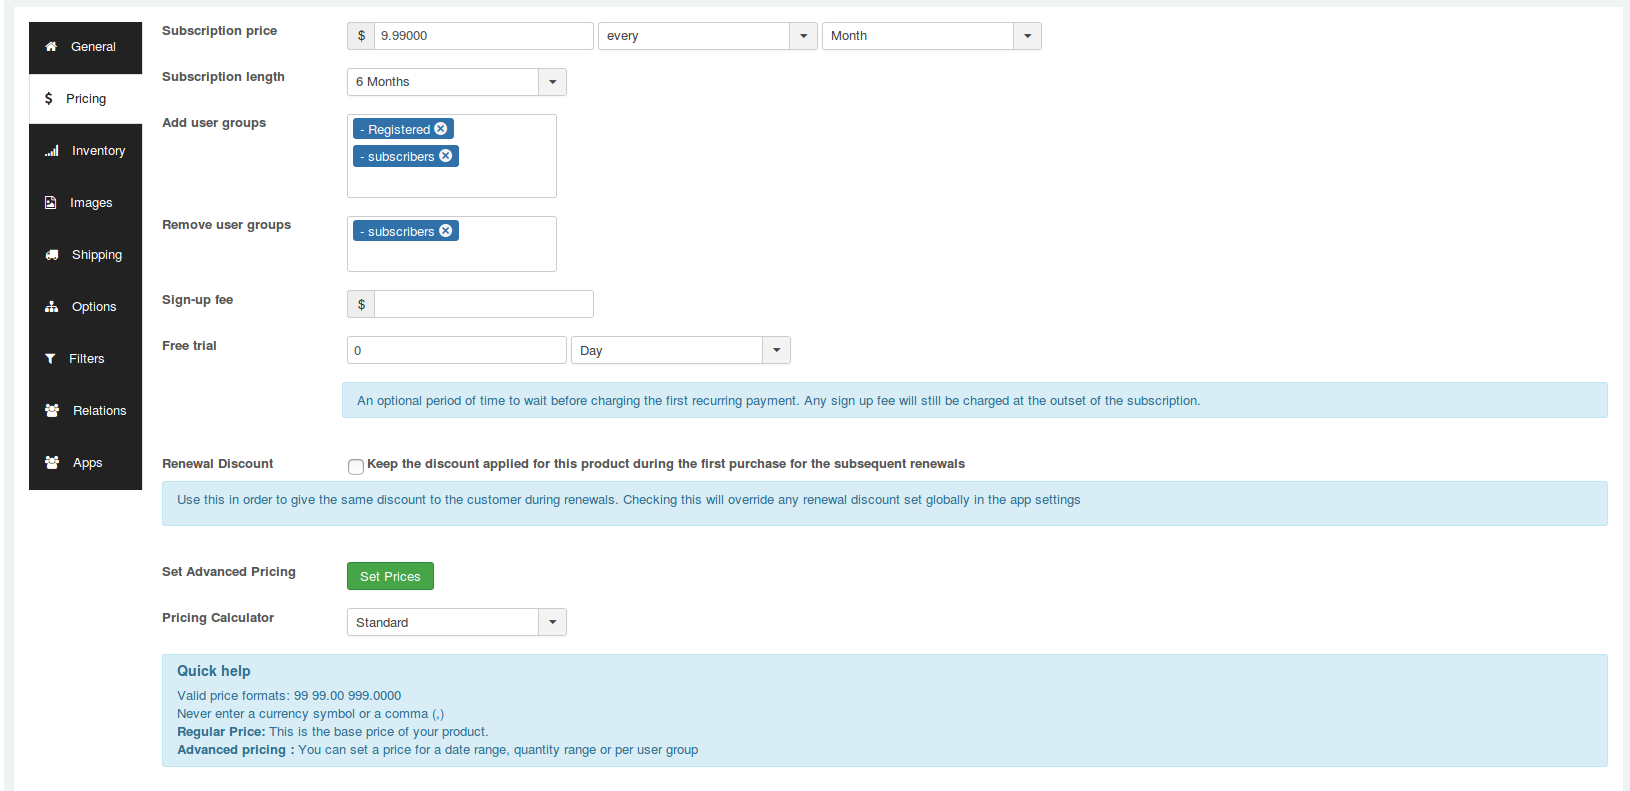
Renewal discount : If you wants to give the same discount to the customer during renewals. Checking this checkbox will override any renewal discount set globally in the app settings.
Set Advanced Pricing : If you want advanced pricing, click the ‘Set Prices’ button and it will open up a pop-up window to allow you to set an advanced price setting.
Watch the video tutorial for creating simple subscription product:
Frontend Demo
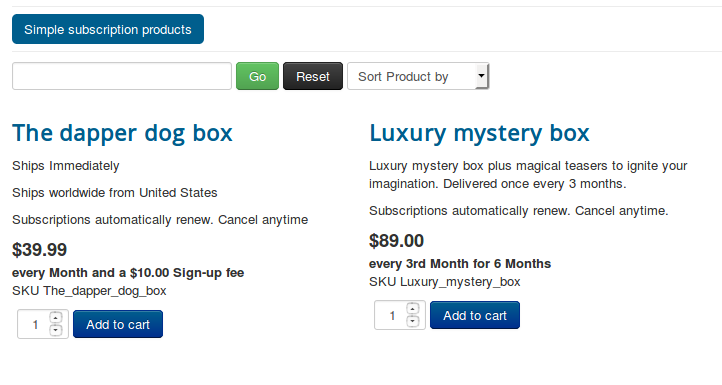
Example
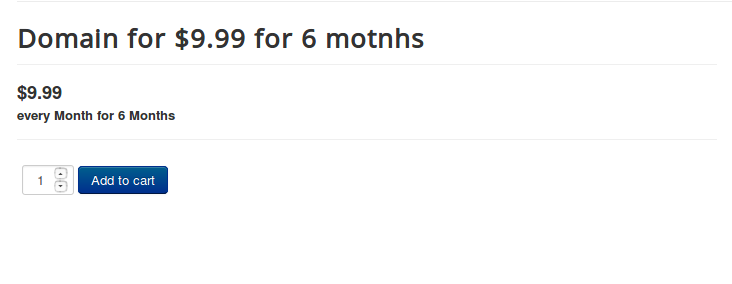
Consider, the hosting provider sells the domain names with 6 months subscription plan. His / Her aim is to collect $9.99 at the end of every month for 6 months.
Let’s see the below steps to implement above scenario.
Step-1: Create a new product with type Simple subscription
Step-2: On general tab, set YES to visisble in storefront and move to Pricing tab
Step-3: In the pricing tab, enter 9.99 in the subscriptin price text box. After mentioning the price, choose every from the dropdown list next to the price text box and then select Month from the second dropdown list.
Step-4: Then, select the duration of your subscription plan. In our scenario, the subscription duration is 6 months so select 6 Months from the subscription length dropdown.
That is, **$9.99 every Month for 6 Months **
Step-5: Select the user groups. The customers will be added / removed to / from the user group selected here at the time of subscription created and ended.
Step-6: Enter the amount in sign up fee text box if you wants to collect any additional charge from customers.
Step-7: If you would like to offer a trial for your subscription, enter the trial days in number here. For example, 15 days.
Last updated